Role based access control
What is Role-based access control?
Role-based access control (RBAC) is an essential security framework utilized by organizations to manage and restrict access to sensitive information and resources systematically. This model operates on the principle of assigning users to specific roles that reflect their responsibilities and functions within the organization. Each role is associated with a predetermined set of permissions that define what actions a user can perform and what resources they can access.
Key Benefits
By implementing RBAC, organizations can ensure that individuals have access only to the information necessary for them to carry out their job responsibilities. For instance, an admin must have access to set up SSIDs, while a help desk admin can only monitor the network for supporting end users. This role-centric approach not only simplifies access management but also reduces the risk of unauthorized access, thereby enhancing overall security.
Furthermore, RBAC enables organizations to streamline the process of onboarding and offboarding employees. When a new employee joins the organization, assigning them to a role automatically grants them the relevant access permissions associated with that role. Conversely, when an employee leaves or changes roles, their access can be revoked or modified quickly and efficiently. This scalability and flexibility make RBAC a preferred choice for many organizations aiming to maintain robust security while promoting operational efficiency.
What Groups does Nile support?
Nile operates with three clearly defined groups:
- Administrator
- Monitor, and
- Help Desk, each serving a distinct function within the system.
The Administrator group is equipped with comprehensive capabilities which includes the ability to set up SSIDs, which are essential for establishing wireless networks. Furthermore, the admin role encompasses managing authentication to ensure secure access to the network; wired or wireless. Additionally, the admin can establish integrations with third-party systems, such as ServiceNOW and Zscaler, facilitating streamlined operations and enhanced functionality.
On the other hand, the Monitor group has a more restricted function. As its name implies, the monitor role is limited to viewing data within the portal. Individuals in this role do not have the authority to modify or configure any settings within the portal, thereby ensuring that critical configurations remain securely managed by the admin role. This role is assigned to employees who field end-user calls and assist with troubleshooting
Lastly, the Help Desk admin group functions with capabilities akin to the monitor group, primarily focusing on data visibility. However, this group holds additional responsibilities, including the approval of wired devices. This involves a process where help desk admins can assess wired devices seeking access and then approve or deny them based on predefined criteria.
Together, these roles contribute to a well-structured and efficient operational framework, ensuring that admins can effectively setup up the network (SSID's, Guest Access etc.) and troubleshoot it while maintaining security and accessibility across the board.
Nile also possesses a Root Admin Role. This individual is the initial registrant of the service. The root admin holds the same privileges as the admin; however, the distinguishing factor is that the root admin has the authority to transfer the account to another admin.
Comparison of Group Privelages
Feature | Root Administrator | Administrator | Monitor | Help Desk |
|---|---|---|---|---|
All Settings | Read/Write | Read/Write | Read Only | Read Only |
Wired Device Approval | Read/Write | Read/Write | Read Only | Read/Write |
Wireless Deny | Read/Write | Read/Write | Read Only | Read/Write |
All Monitoring | Read/Write | Read/Write | Read Only | Read Only |
Fedration with IDP
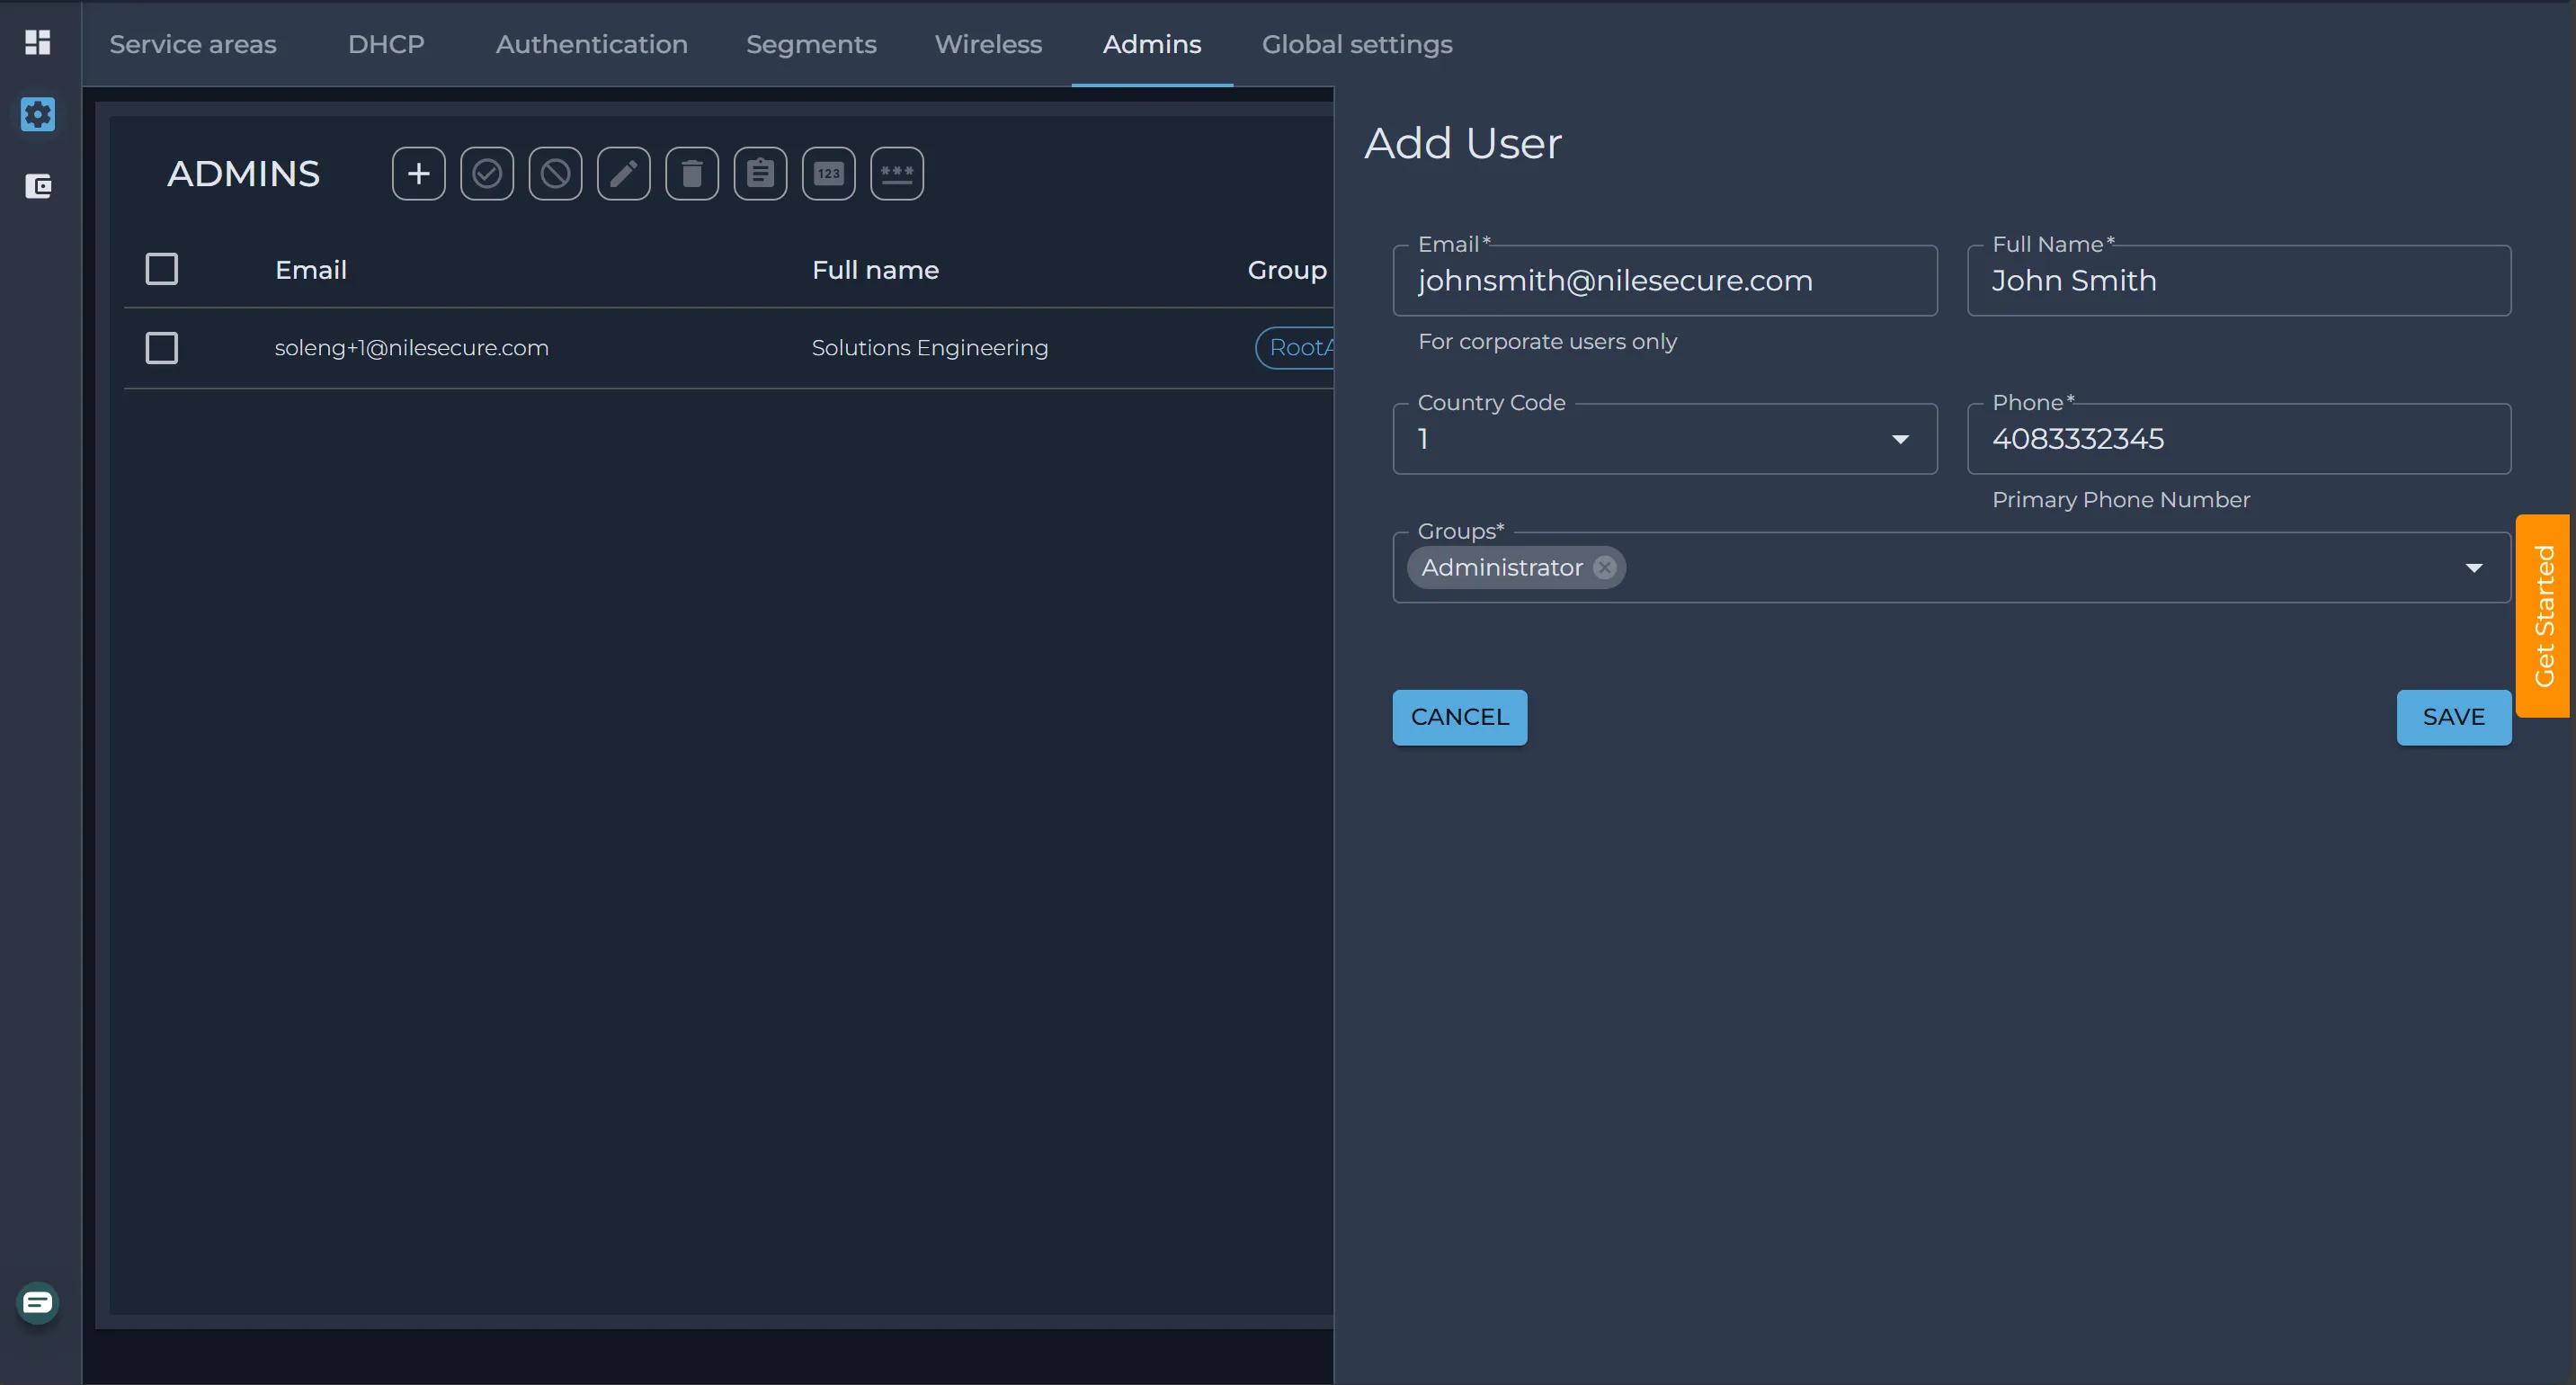
Administrators can be created locally within the Nile portal. Individuals with Administrator privileges have the capability to create additional Administrator accounts or manage Help Desk and Monitor role administrators. Furthermore, Nile can integrate with the customer's Identity Provider (IDP) to facilitate access to the Nile Portal. Roles can be dynamically assigned through the IDP, providing a streamlined approach to user management. One significant advantage of this system is that when an employee leaves the company, their access to the Nile Portal is automatically revoked, ensuring enhanced security and compliance.
Please review the Azure AD article to understand the configuration process
The Guest group is designated for granting employees access to the network via Single Sign-On (SSO). It is important to note that individuals within this group will not be granted access to the Nile portal.
Restricting access based on geoscope
Nile is pleased to introduce the concept of tags, which will be utilized to group sites effectively. Tags are free-form, allowing multiple sites to be associated with the same tag. This functionality empowers our customers to tag various site types, such as retail locations, stores, and carpeted offices, with their respective identifiers.
Once a site or sites are tagged, these tags can be leveraged for Role-Based Access Control (RBAC), enabling the assignment of monitoring and settings privileges to users within the Nile Portal.
Let us consider a scenario involving a customer ACME Inc. who manages 100 retail sites alongside 15 enterprise sites. Following is the list of admins at ACME Inc.
Name | Group | Access | Description |
|---|---|---|---|
Jane Smith | Adminstrator | All | Jane is a global admin and should have access to all sites across ACME Inc. |
John Doe | Adminstrator | Retail Only Monitor-Global | John is responsible for managing all the retail sites only but he should have monitoring capabilities for all sites |
Karen Mae | Adminstrator | Enterprise Only | Karen should have read/write access to Warehouse sites only |
Sara Kerr | Help Desk | Enterprise Only | Sara is an a help desk admin supporing all Enterprising Sites |
Step 1: Tag all the sites
Let's begin by tagging all retail sites with the appropriate retail tag and all enterprise sites with the corresponding enterprise tag.
Step 2: Create a new admin and map them to the appropriate tags