Setup Access Engine Policies
Access Engine helps with simple segment-based L3 policy, such as intra-segment or inter-segment allow/deny rules, with optional external forwarding for SSE.
- First, make sure micro-segmentation is enabled for the tenant or site. Once enabled, policy rules are received from cloud, and enforcement starts after the first rule is pushed to the dataplane.
- Open Global Settings → Access Engine and review the defaults. The default internal behavior is ANY to ANY = Deny, and the default external behavior is ANY to INTERNET = Forward to upstream Firewall/Router.
Figure 1 below shows the default Access Engine rule view with one internal rule and one external rule already present.
Figure 1: Access Engine rules page showing the default internal deny policy and default external forward-to-firewall policy.
- To create an internal L3 policy, go to Create Rule → Create Internal Rule. Start by selecting the source segment, then choose the destination segment, and finally set the action to Allow or Deny based on the required intra-segment or inter-segment behavior. Legacy Access Engine 1.0 rules are segment-based.
Figure 2 below shows the internal rule workflow starting with segment selection.
Figure 2: Internal rule creation flow where you begin by selecting the source segment.
- If the customer needs SSE forwarding, go to Create Rule → Create External Rule. Select the source segment, set the destination to All Internet Bound Traffic, choose Forward as the action, optionally select the configured SASE provider, add rule name and description, and save.
Figure 3 below shows the external rule example for forwarding internet-bound traffic.
Figure 3: External rule creation flow for forwarding a segment’s internet-bound traffic to an SSE provider.
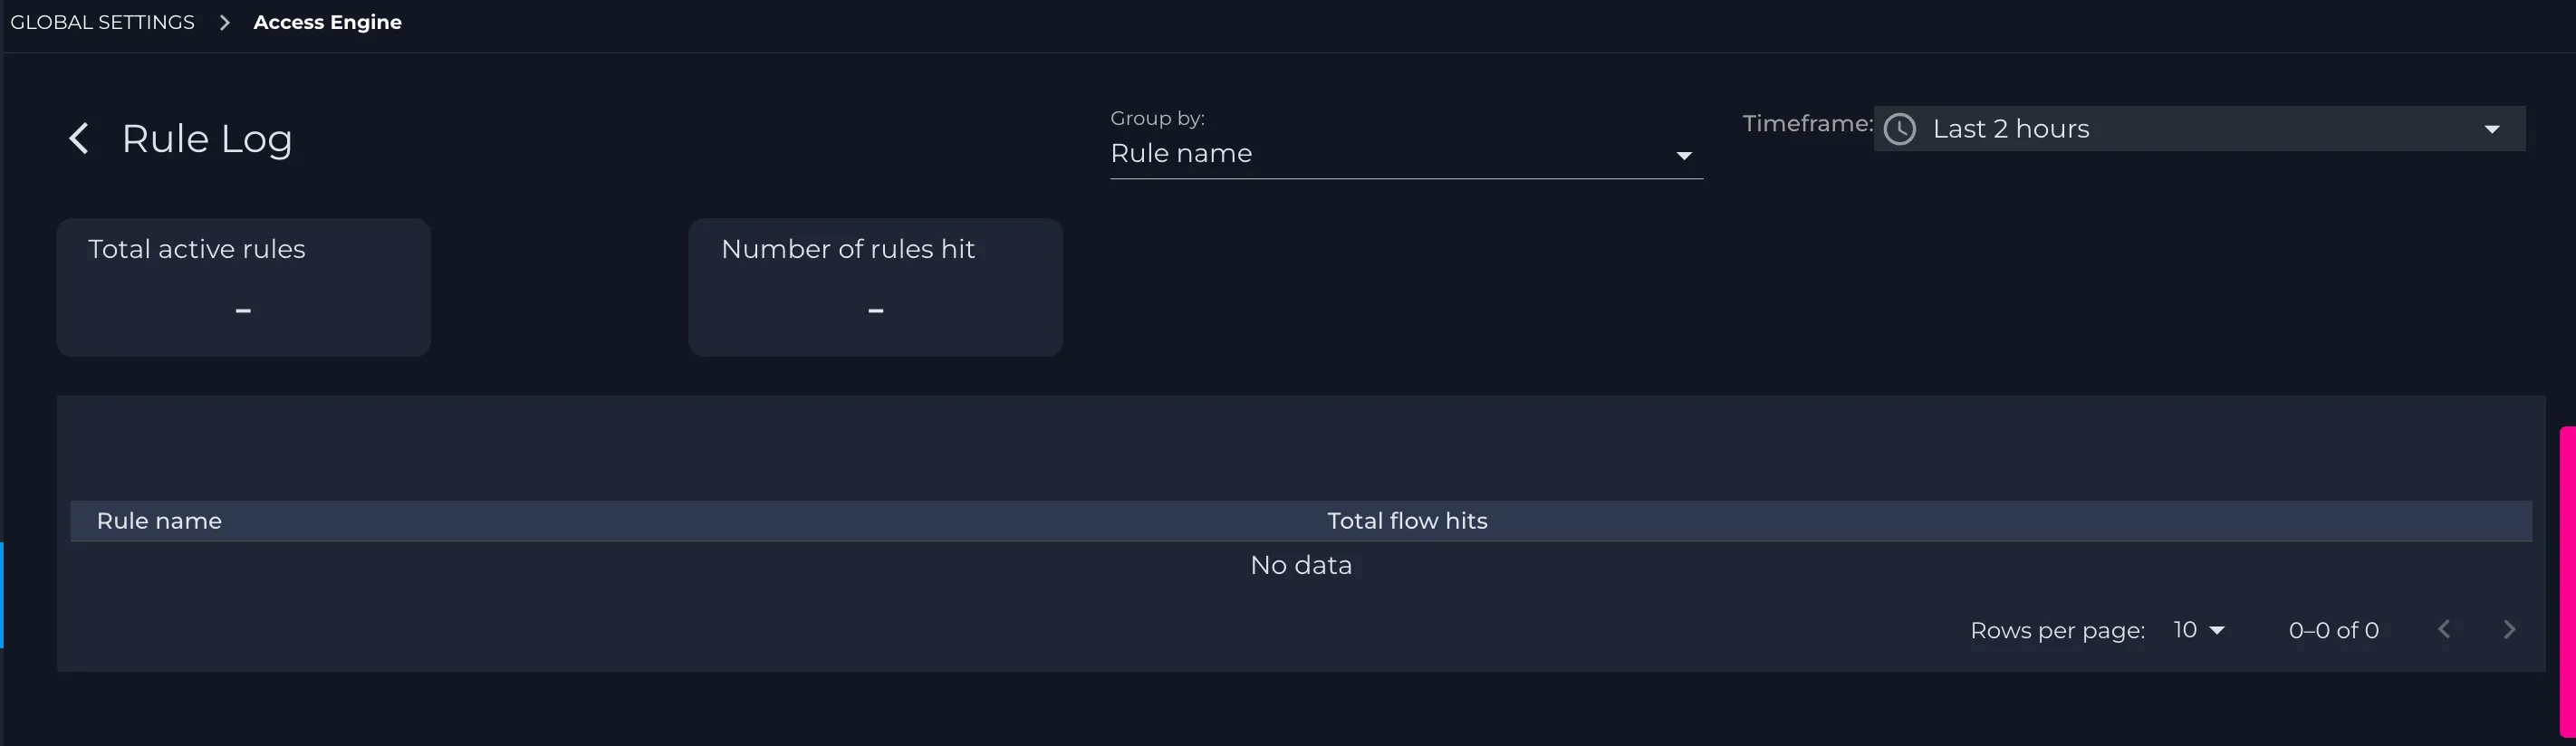
- After saving, confirm the rule appears in the Access Engine table and use Rule Log to validate behavior during testing.